User login
Percutaneous closure
Editor’s Note: I urge readers unfamiliar with the Perclose Proglide® device to pay special attention to the instructions for use and to follow them carefully. The device is relatively simple to use but it is a complex piece of equipment and so it is also easy to misuse it with dire consequences. I suggest that one at least read the section on "Troubleshooting," since preventing some of these problems can be lifesaving.
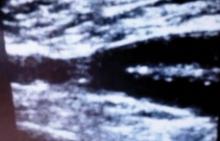
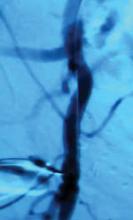
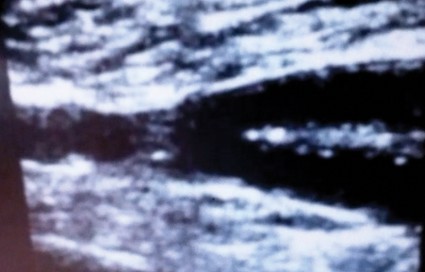
The key to successful percutaneous closure is selecting the appropriate site of entry into the common femoral artery (CFA). Using ultrasound (in transverse and longitudinal planes) and fluoroscopy, I gain access at a noncalcified spot 1 cm above the bifurcation of the CFA (Fig. 1). This is immediately confirmed with an oblique angiogram while pulling the 5F sheath to the ipsilateral side (Fig. 2). This small last maneuver allows me to see exactly where the puncture was and confirms that I will be able to use a closure device.
If using a sheath larger than 12F, I would dilate the track and cut any skin bridges within the puncture site using 11 blade. Doing this maneuver at the end of the procedure could result in inadvertently cutting the sutures. The Proglide device is then inserted and the sutures deployed as per the instructions for use.
At the end of the case, the sheath is pulled over a nonstiff wire while pulling on the nonrail (blue end) wire in a coaxial fashion. I can’t stress enough the need to be calm and not to pull too hard on the suture. This can result in the suture breaking or being pulled out of the artery. The knot pusher is then used on each suture sequentially. At this point, I tug on the wire to make sure it is "snug" within the arteriotomy. This signifies adequate closure but I also check briefly to ensure that there is no significant bleeding. Then I can go ahead and remove the wire and slide the knot pusher again.
The final step is to advance the knot pusher over the two sutures and cut the suture just under the skin. There is no need to slide the knot pusher all the way down to cut the suture as this may inadvertently cut the knot. Steristrips and Band-Aid are applied and I reverse the heparin after confirming the status of distal pulses
Dr. Mussa is an assistant professor of surgery at New York University School of Medicine and Langone Medical Center.


