How to insert Liletta
Insertion can be performed using a no-touch technique. The loading and placement technique outlined below should occur after speculum and tenaculum placement, sounding of the uterus, and vaginal preparation as would be performed for any intrauterine contraceptive insertion. Never force the uterine sound or insertion tube through the cervix; if necessary, stop and dilate the cervical canal. The steps below are the main points for successful Liletta placement; see the full product label for more details.3
Related article:
In which clinical situations can the use of the 52-mg levonorgestrel-releasing IUD (Mirena) and the TCu380A copper-IUD (ParaGard) be extended?
The key steps to remember are firm-gentle-firm
- Load the device. While pushing forward firmly on the blue slider (with the number 1), load Liletta by pulling down evenly on the threads. The IUS should be laid on a flat surface in the sterile tray to keep the arms parallel to the floor while pulling on the threads. Once loaded, the threads can be pulled up or down to be locked in the cleft. The tip of the IUS will form a hemispheric dome at the top of the insertion tube.
- Adjust the flange to the measured uterine depth based on sounding using the notch in the tray.
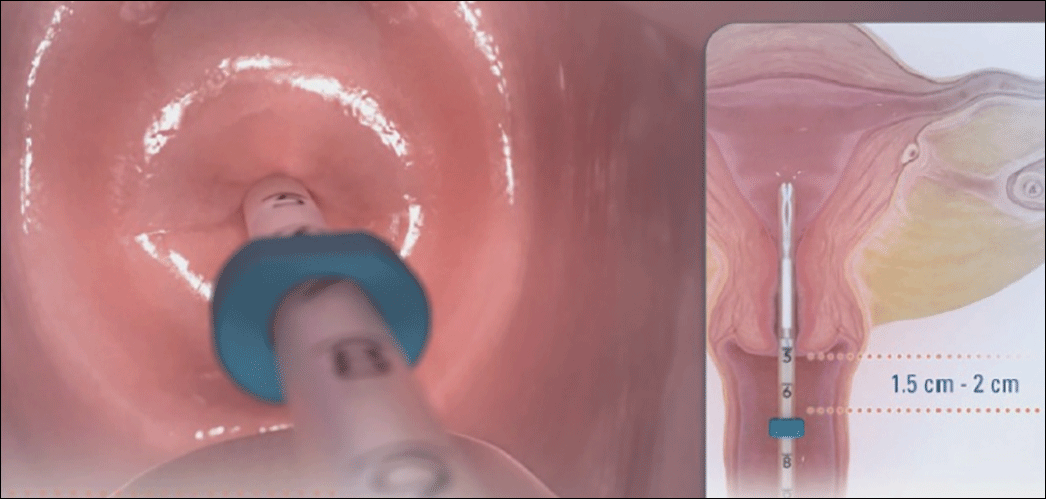
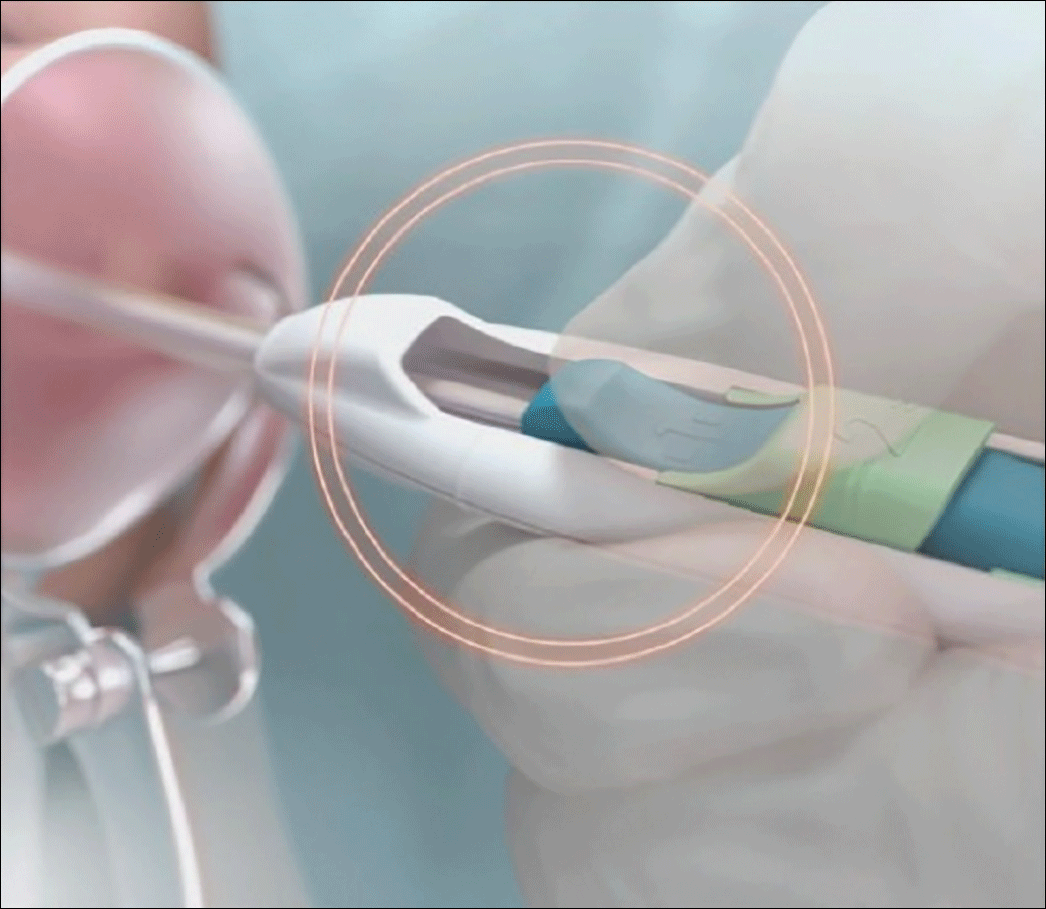
- Place inserter into the cervix. Apply gentle traction on the tenaculum to align the cervical canal and uterine cavity. While still holding firm forward pressure on the blue slider, place the tube through the cervical canal until the flange is approximately 1.5 to 2 cm from the cervix. (FIGURE 2.) Gently slide the blue slider downward until it is flush with the green slider (with the number 2; FIGURE 3). This step will allow the IUS arms to open in the lower uterine segment; wait 10 to 15 seconds for the arms to fully unfold. By sliding gently, you will feel when to stop moving the slider.
- Advance the inserter. While holding traction on the tenaculum, advance the inserter to the fundus. You will feel slight resistance when the IUS is at the fundus and the flange should be flush against the cervix.
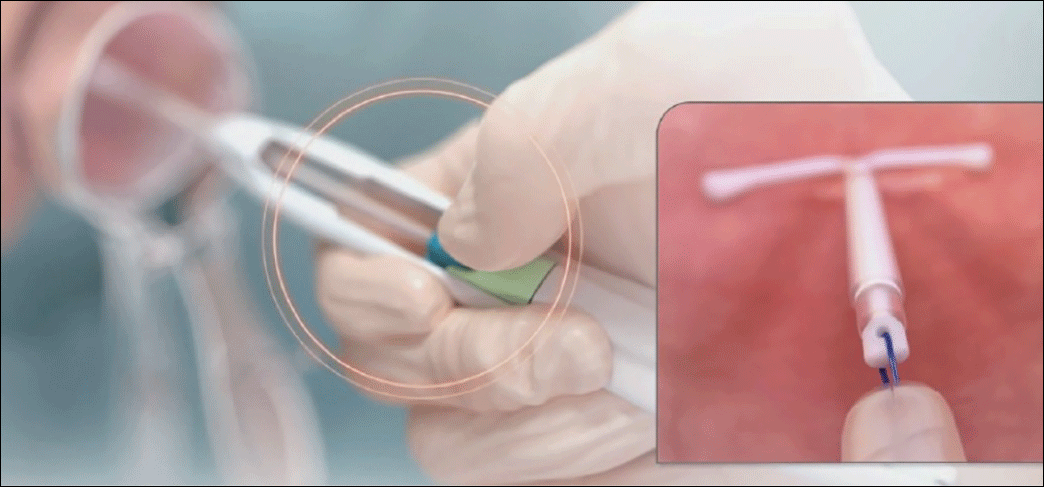
- Firmly slide both sliders together downward until a click is heard (FIGURE 4). A green indicator will be visible at the bottom of the handle to show that the threads have been ejected from the cleft.
- Withdraw the inserter from the uterus and cut the threads with blunt tipped scissors approximately 3 cm from the cervical os.


